Chia and Flax Seed Peanut Butter Chocolate Granola

pb granola parfait

*Takes a deep breath in* Phew that was a long name.

A couple of weeks ago, two new and dear friends of mine Monica and Serena from Dessert Doesn’t Hurt came up with a brilliant idea to conduct a little bake-off! They challenged me to make a variation of their Cranberry Orange Granola, and I challenged them to make a variation of my PEScience Snickerdoodle Bread.

This was a really fun challenge because our styles are slightly different. The two girls are what I like to consider true bakers, using wholesome ingredients and make everything from scratch. I on the other hand use a lot of protein powders and a lot of alternatives since we both target slightly different audiences. But our love for baking is definitely mutual!

It did not take me long to decide what to make after studying their delectable sounding recipe. If you have been following me for a while, you know that I am all about the chocolate and peanut butter combination, so of course I had to incorporate my two favorites into this dish!

I needed a peanut butter creamy enough to replace the coconut oil, and this Trader Joes Flax and Chia Seed Peanut Butter filled that role perfectly.

So here is my rendition, and if you end up trying it, tag me at @hungrygirl325 on Instagram so I can see how you liked it! Even better, make both variations because this recipe is a guarantee winner no matter which flavor you go with.
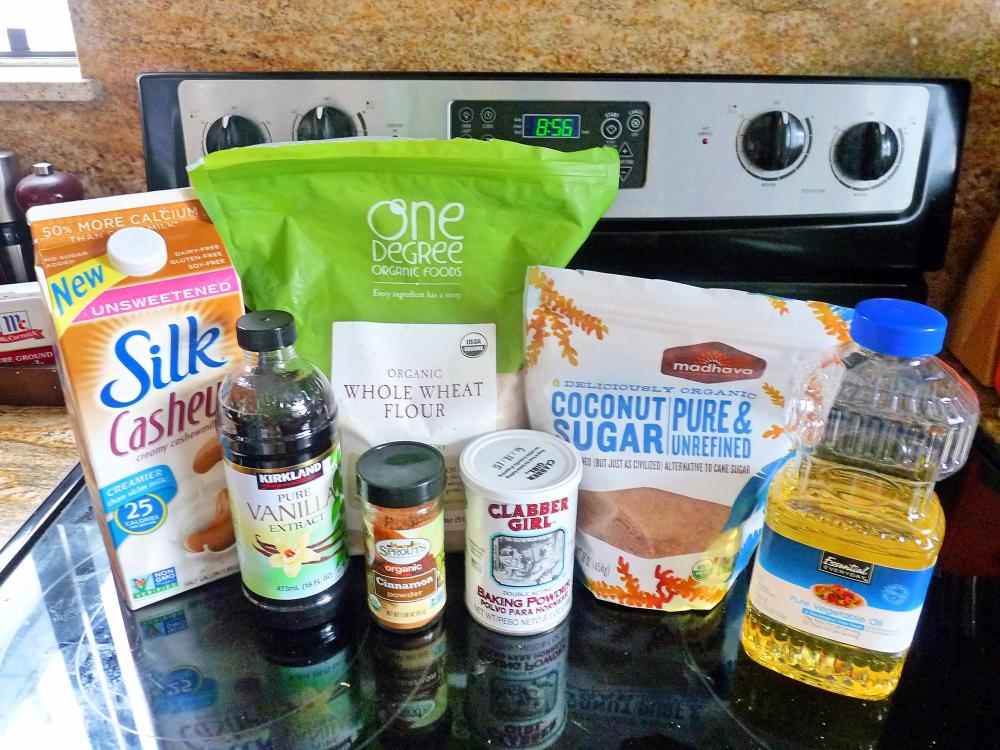
Ingredients:

  • -3 cups rolled oats
  • -1/4 cup stevia (the brand I have isn’t too sweet, so start out smaller if yours is sweet and adjust according to taste)
  • -dash of cinnamon
  • -dash of salt
  • -1/4 cup Trader Joes Flax & Chia Seed Peanut Butter (or another creamy peanut butter)
  • -2 tbs Vita Fiber Sweet It (or maple syrup/honey/liquid sweetener)
  • -1 egg white
  • -2 servings Lilys Sweets Chocolate Chips

Directions:

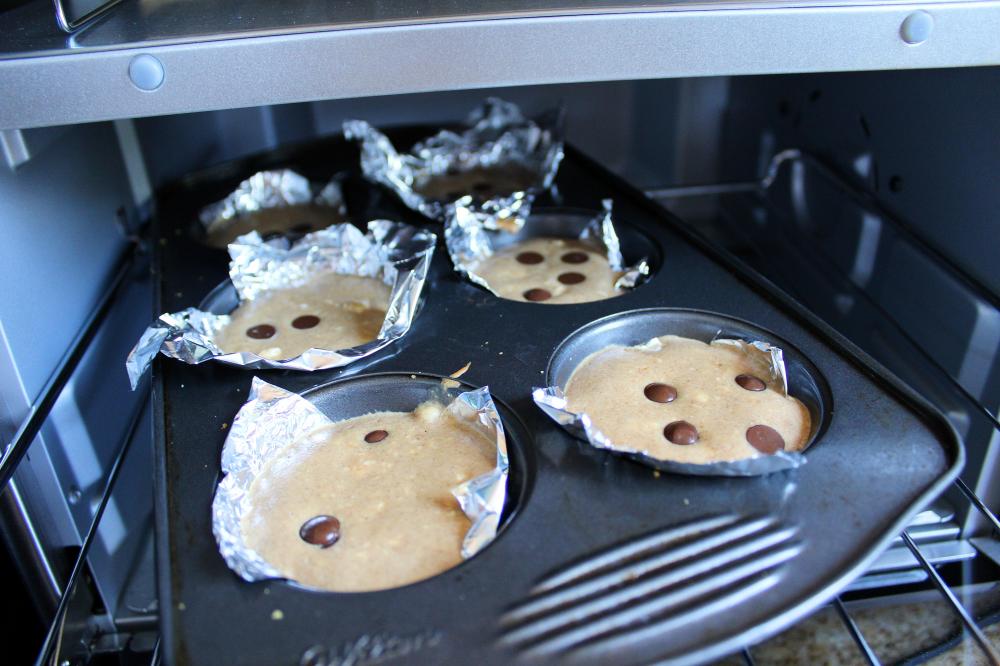
  1. Preheat oven to 300F.
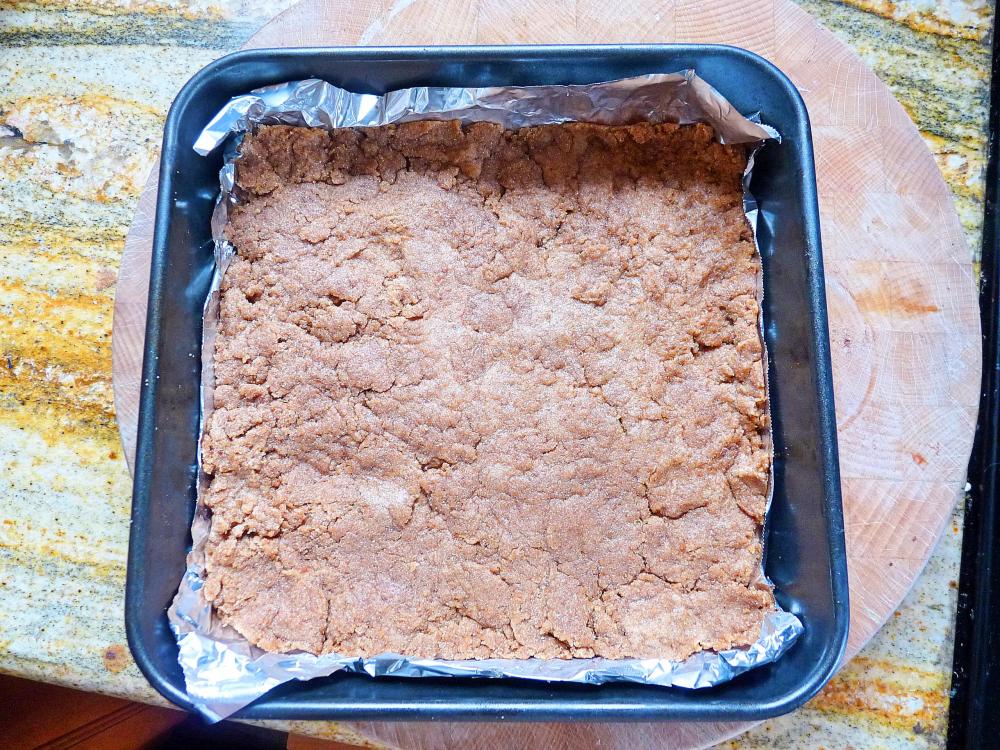
  2. Place parchment paper on a baking pan.
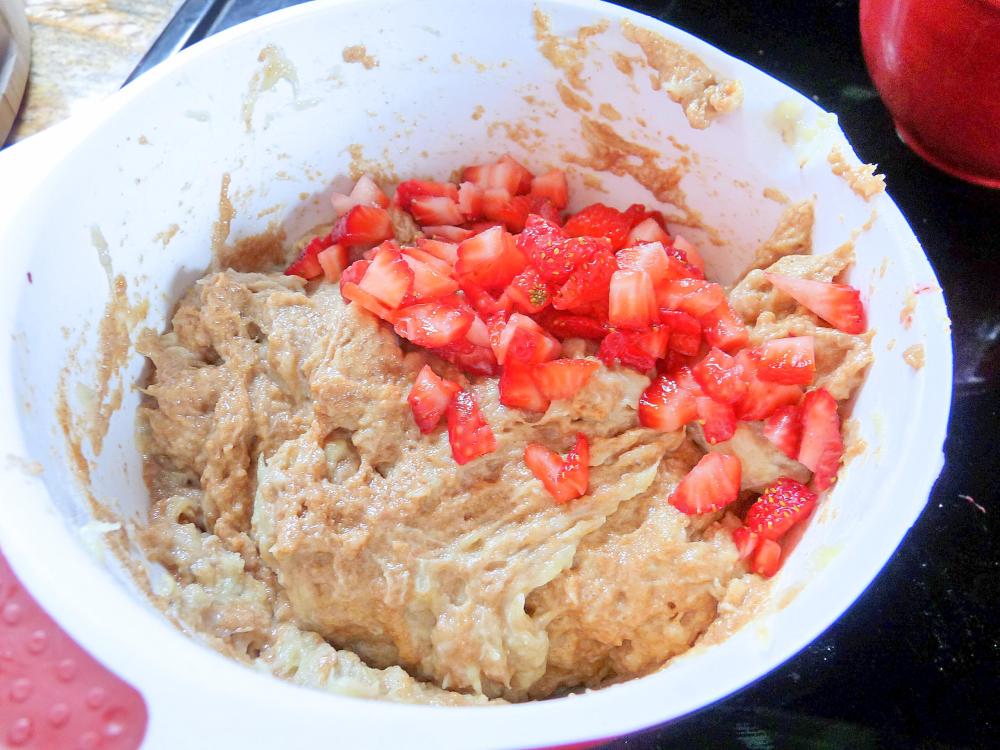
  3. In a large bowl, whisk oats, stevia, cinnamon, and salt.
  4. In a small bowl, whisk the egg white until frothy. Add in Sweet It/liquid sweetener and peanut butter.
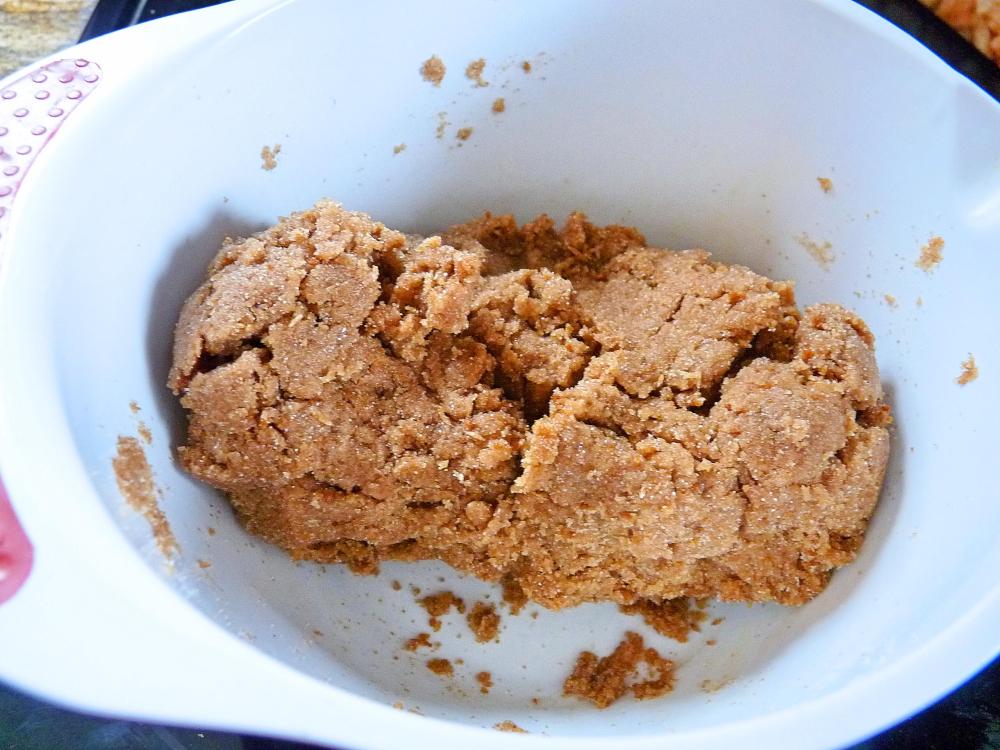
  5. Add the wet ingredients to dry ingredients. It’s easier to use your hands to mix it all up, and it’s more fun!
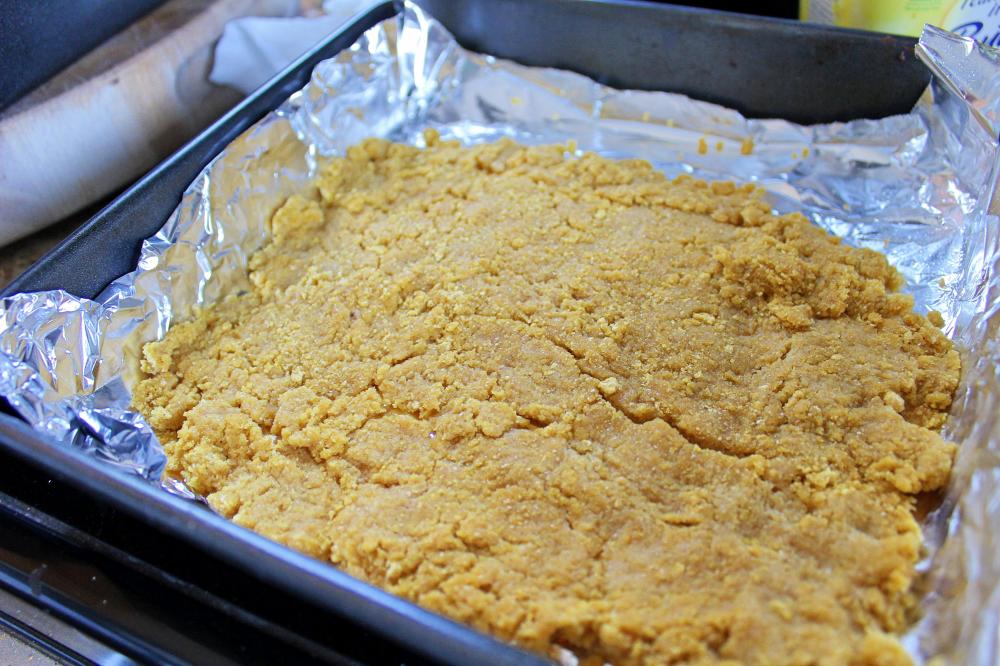
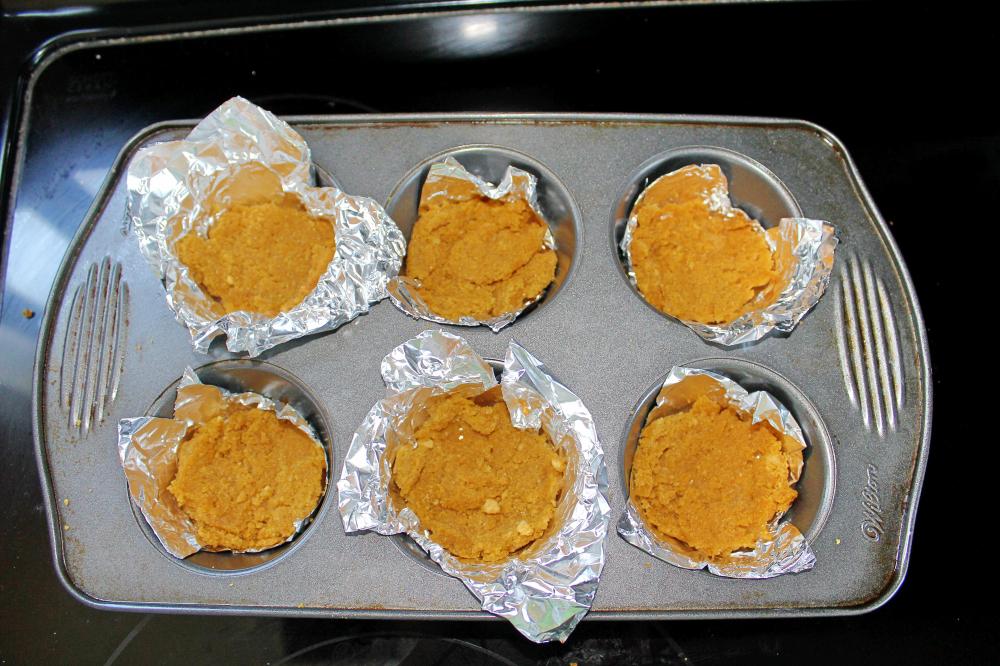
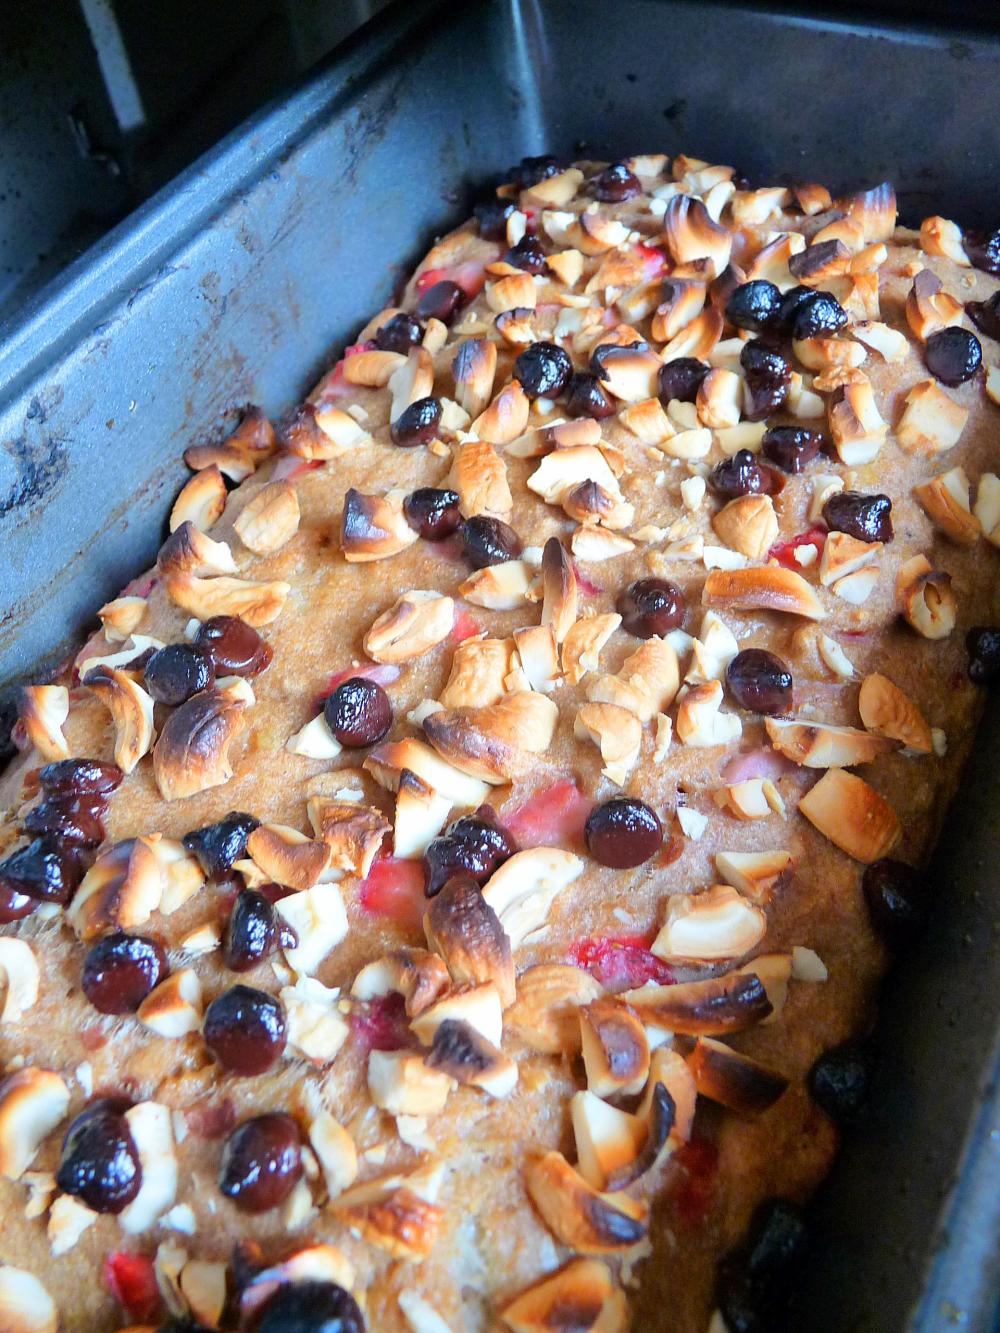
  6. Scoop into the baking pan and spread it out a little.
  7. Bake for 20 minutes, take it out, and stir it around a little more, breaking up any clumps.
  8. Bake for about another 20-25 minutes.
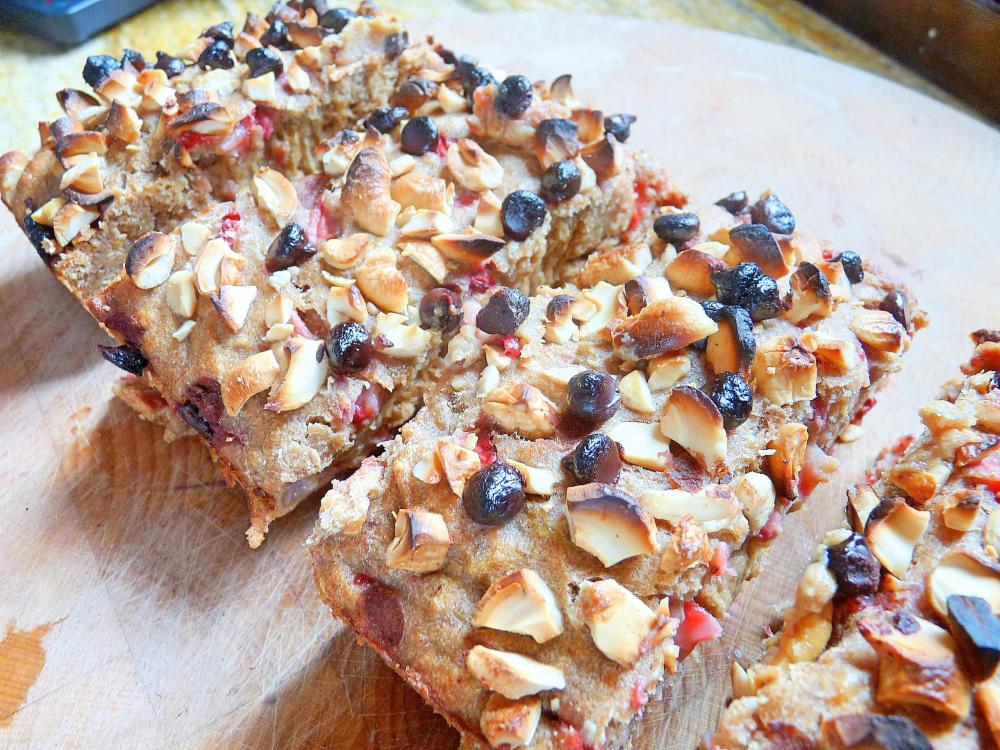
  9. Let it cool completely before eating so it gets all crunchy! Once cooled, toss in chocolate chips.

New Image

Servings: 16 servings; 1 serving = 1/4 cup

Macros per serving with ingredients that I listed:

  • 94 calories
  • 3.4g fat
  • 14.5g carbs (4.1 fiber, 0.5 sugar)
  • 3.3g protein


Basic Quest Protein Waffle Recipe

Being my usual stubborn self, I take pride in trying to come up with recipes on my own. I’ve tried a lot of waffle recipes, but I think this is the best one I’ve come up with so far!

quest waffle

I get some questions on what recipes I use or how I come up with them, and honestly it’s just a lot of trial and error. Some inspiration from other recipes too, but I try to come up with original ideas because plagiarism is just messy. Hopefully I can improve this recipe too and make a better one when I mess around in the kitchen more! But for now, here is the waffle recipe!

Servings: 2

Ingredients:

-2 scoops Quest Nutrition protein powder

-1 tbs coconut flour

-2 tbs whole wheat flour

-1 tsp baking powder

-dash of salt

-optional: cinnamon/spices. I usually like to add cinnamon if I’m using Vanilla Milkshake.

-stevia to taste

-1/2 cup egg whites

-1 tbs Light I Can’t Believe It’s Not Butter

-1/4 cup unsweetened vanilla almond milk + about 3 tbs water for consistency

Directions:

  1. Mix all your ingredients together in a small/medium bowl.
  2. Spray and heat up your waffle maker.
  3. Cook half the batter. Cook the other half.
  4. Eat!

New Image

Hope you guys enjoy it! If you decide to make this recipe, tag me at @hungrygirl325 on Instagram so I can hear your feedback!

Healthy Cheesecake Bars

Yep, you read that right! One of my friends sent me a recipe for Rolo Cheesecake Bars to “healthify,” and it seemed difficult to do because cheesecake is amazing as is, and it just seems so hard to make cheesecakes healthy. But it turned out to be a success, and I am incredibly overjoyed to share the recipe with you guys! I only have the cheesecake base I made without the Rolos here so you can use this as a basic base, and add whatever you want, like blueberries or more chocolate chips!

cheesecakee3

With chocolate chips!


CRUST:

-2.5 cups any type of honey cereal or lightly sweetened cereal

-3 tbs light I Can’t Believe It’s Not Butter

-extra water for consistency

cheesecake 1

FILLING:

-215 grams Greek yogurt cream cheese (my favorite is Green Mountain Farms Greek Yogurt Cream Cheese)

-2 eggs

-1/4 cup coconut sugar + 1/2 cup xylitol (I used a little less because I ran out, and it still turned out delicious), or all xylitol/coconut sugar

-a little bit of stevia for taste, if needed

-1/4 cup whole wheat flour

-1.5 servings of Lily’s Baking Chips (or any chocolate chips) or fruit or other chocolate

cheesecake 3

GLAZE:

-2 servings of Sweet It/Agave/Honey, etc.

-.5 servings of Lily’s Baking Chips (or any chocolate chips)

-1 tbs light I Can’t Believe It’s Not Butter


DIRECTIONS:

1) Preheat the oven to 375 F

2) Crush the cereal in a medium bowl.

3) Melt the 3 tbs butter, and then add it into the bowl with the cereal. Mix it all up.

4) Grease a brownie pan, and press the cereal crust into the pan. Bake for about 7 minutes, or until golden.

cheesecake 2

cheesecake 2b

Also works great as mini cheesecake bites!

5) Set the oven to 350 F

6) While the crust is cooling, mix together all the filling ingredients. Taste test and adjust for taste.

7) Pour the filling over the crust and bake for about 25-35 minutes.

cheesecake 4

8) While the cheesecake is cooling, make the glaze. Let the glaze sit for a while to thicken. Top the cheesecake with the glaze, and add toppings!

cheesecake

Rolo versions with the glaze!

Sugar Cookie Cake Bars

After yesterday, I’ve just been in the mood to bake everything and anything! I forgot how fun it is to just put on some music and get creative in the kitchen. And since today is National Sugar Cookie day, I practically had all the ideas laid out for me! Hope you enjoy!

Makes: 16 cake bars

sugar cookie 1

Ingredients:

-1.5 cups whole wheat flour

-1/3 cup coconut sugar

– couple dashes of cinnamon

-1/2 tsp baking powder

-1 tsp vanilla extract

-1/4 cup milk of choice + a little extra water

-6 tbs oil

Directions:

1) Preheat oven to 325 F.

2) Mix together your dry ingredients in a medium to large bowl.

3) Add in the liquids and whisk with a fork. Add the extra water if it’s too dry. You want it to be a mound of dough.

sugar cookie 2

4) Line a baking sheet with aluminum foil and press the dough into the foil until even everywhere.

5) Bake for about 10 minutes, or until the top has gotten a little more golden. If you use coconut sugar, it might be hard to see, so make sure you keep an eye on it.

sugar cookie 3

6) Top with whatever you like!

sugar cookie 4

Banana Split Loaf

As I was engaging in my nightly routine of scrolling through Pinterest, I came across this beautiful looking bread. Usually when I “pin” things, I do have an urge to make the recipe, but I never have time. However, this picture was just so beautiful and the recipe sounded too amazing to not make. I finally had time today to make it, and I don’t regret it. I pretty much followed the directions and recipe, with just (very minuscule) slight adjustments according to the ingredients I had.

New Image4

I hope you enjoy it as much as I did!

Ingredients:

-1 1/2 cup whole wheat flour

-1 tsp baking powder

-1/2 tsp salt

-3 bananas

-8 tbs butter

-2 eggs

-1/2 cup coconut sugar (3/4 if you like more sweetness, but my mom enjoyed the 1/2 cup version, and she has a huge sweet tooth)

-7 medium strawberries

-1 tsp vanilla extract

-1 serving of Lily’s Sweets Chocolate Baking Chips (or any chocolate chips)

-1/4 cup whole cashews, then chopped

-optional: cinnamon

-optional: dough enhance that I got from Whole Foods. I’m not exactly sure if it works, but I like to use it anyways just in case sometimes. But this is completely optional, and the bread will be fine without it.

-Greek yogurt + stevia + cinnamon, chocolate sauce, cashews/chocolate chips/peanut butter, strawberries for the topping

New Image1

Tools you will need:

-1 large bowl for the mix

-1 medium bowl for the bananas

-1 small bowl for the butter

-a small sauce pan

-a strainer

-loaf pan

-fork, whisk, and solid spatula

Directions:

1) Preheat your oven to 350 F.

2) Break up the bananas and put it into the medium bowl. Microwave for about 5 minutes.

3) Mix together flour, baking powder, salt, and optional cinnamon/dough enhancer in the large bowl.

4) Once the bananas are done, transfer them to the strainer, and lay it on top of the sauce pan. Keep the medium bowl on the side. Mush the bananas with a fork occasionally for about 15 minutes.

New Image2

5) While you’re waiting for the bananas, and occasionally mushing, you can chop up your strawberries and cashews.

6) After 15 minutes are up, transfer the bananas to the medium bowl again. Let the banana juice sit in the sauce pan on medium heat for about 4 minutes. Once that is done, transfer the juice to the medium bowl with the bananas.

7) Add the vanilla extract, eggs, butter, and coconut sugar to the large bowl. Whisk. The batter will be pretty thick.

8) Add in the banana/banana juice mix to the large bowl and mix with a fork (it is very hard to do with a whisk).

9) Fold in the chopped strawberries.

New Image3

10) Spray the loaf pan, and pour in the batter. Make sure it’s all nice and smooth.

11) Add the chopped cashews and chocolate chips to the top, and bake for about 25-27 minutes.

New Image5

12) Let it cool, slice it, and top with whatever you want!

New Image

Stack’d Pancakes Review #2: Cinnamon Roll, KokoNut

I feel so incredibly blessed to be able to receive products from companies so I can review them, and let my followers know that there are healthy products out there by companies who truly take health into consideration.

One of those companies is Stack’d Pancakes. I was lucky enough to be able to try out some of their products before, and wrote about it in this post here.

They kindly sent me another package with 2 flavors: Cinnamon Roll, and Kokonut! After having such a positive experience with the other 3 flavors, I was so excited to dig in.

1. Cinnamon Roll

As soon as I opened the bag, I was engulfed by the warm aroma of cinnamon. I even closed my eyes and imagined sitting in a Cinnabon and splitting a classing cinnamon roll with my aunt and mom. That inspired me to make a Cinnamon Roll pancake stack layered with a protein cream cheese spread.

cinnamon roll pancakes 1

The cream cheese spread is just 1 tbs light cream cheese plus 1/4 cup plain nonfat Greek yogurt, cinnamon, and stevia to taste.

The pancakes were fluffy, like always, and tasted perfectly “cinnamony.” The spice wasn’t so subtle that you couldn’t taste it at all. The protein taste also wasn’t present at all. And of course, the impatient cook that I am, I had to taste the batter, and it was so good without any protein powder taste. I highly recommend this flavor!

2. KokoNut

I was extremely excited for this flavor because I recently converted from coconut-hater to coconut-lover! However, I am still very particular with anything coconut, so I was desperately hoping this mix would satisfy my overly sensitive coconut taste buds.

I topped mine with unsweetened coconut shreds, a frozen tropical fruit blend, and chocolate peanut butter.

kokonut

This flavor did NOT disappoint. There were even real coconut flakes in the batter! I was ecstatic that the pancakes came out so fluffy as well so I could really get good tastes of the sweet coconut flavor. The flavor isn’t exactly like fresh coconut meat, but tastes more like the thin sweetened coconut shreds.

If you’re particular about your coconut as well, have no fear with this flavor. They passed my standards.

Elli Quark Episode 4 #EatCleanShowdown

I was fortunate enough to be chosen as a contestant for a competition Elli Quark is hosting! For the competition, there are about 4 or 5 contestants chosen, and 3 judges.

Each of the contestants receive a “Mystery Box” with mystery ingredients and a theme. Each week is different, and so this week, our theme was Overnight Oats! How perfect! The ingredients we had to use were Elli Quark Mint Chocolate quark, avocados, a raw coconut, loose Indian Black Chai, and ginger.

I was so thrown off by the random ingredients, but I tried channeling my inner chef, and created 2 variations. One was dark chocolate overnight oats inside the coconut with a swirl of mint chocolate, topped with dark chocolate coconut mousse, ginger candy, and toasted chai coconut chips. The second was a fudgey mint chocolate overnight oats parfait with a dark chocolate “mousse” topped with coconut chai chips and toasted ginger candy!

Same concept, but different ways of laying it out!

elli quark 1

INGREDIENTS FOR OATS:

-1 cup oats

-2/3 cup liquid (I used cashew milk)

-chocolate stevia

-2 tbs dark cocoa powder

INGREDIENTS FOR MINT CHOCOLATE LAYER:

-1 container Elli Quark Mint Chocolate quark

-optional: 1 tsp chia seeds and some chocolate chips

INGREDIENTS FOR TOASTED COCONUT AND GINGER:

-fresh ginger, chopped into small bits

-coconut

-coconut water

-coconut sugar

-loose Indian black chai

INGREDIENTS FOR DARK CHOCOLATE COCONUT MOUSSE:

-2 ripe avocados

-2 tbs dark cocoa powder

-drops of coconut stevia (or sweetener of choice + coconut water)

Oh, and this is how you open a coconut.

coconutcoconut 1

DIRECTIONS:

  • Cook the oats in a large bowl. Microwave for 1:30 at first. Stir, and microwave for additional 30 second intervals until the oats have almost absorbed the liquid.
  • Mix together the mint chocolate quark with chocolate chips and chia seeds so it can thicken.
  • While the oats are cooling, gather your garnishes and put it on a foiled oven sheet.
  • Toss the black chai on the coconut slivers. Pour a little coconut water and coconut sugar on the chopped ginger and coconut slivers.
  • Put in the oven at 375 degrees Fahrenheit for about 7 min on broil. No need to preheat.
  • While the garnishes are toasting in the oven, put the avocados + stevia + dark cocoa powder in a blender and blend until smooth to make the mousse.
  • Layer your chia/quark mix and oats in a jar and top it with the mousse.
  • Cover and store overnight
  • Top with the garnishes in the morning!
  • elli quark 2

Stack’d Pancakes Review #1: Mocha Peppermint, Lemon, Buttermilk

If you couldn’t tell already, I am a fanatic about breakfast. I eventually wanted to branch out past my signature oatmeal dishes (I know, I am surprised too!), and try other types of breakfasts. Stack’d Pancakes was kind enough to send me 3 of their flavors. I had the opportunity to try Mocha Peppermint, Lemon, and Buttermilk. stack'd pancakes The unique thing about Stack’d Pancakes is that they make protein pancake mixes, complete with certified organic whole wheat flour, and oats/almond flour. This is a company that truly cares about what they put into their products. The two wonderful couple who started this company because they couldn’t find any pancake mixes that fit their dietary needs. If you look at the back of most pancake mixes, they are full of sugar, artificial sweeteners, and highly processes ingredients. With these pancake mixes, their goal was to show the fitness world that you don’t have to eat “bro food” (sweet potatoes, boiled veggies, and chicken) all day to stay lean. You just have to get creative, and that’s exactly what Gary and Lisa did. While there’s nothing wrong with the traditional pancakes everyone enjoyed as a kid (if you haven’t had any when you were a kid, you haven’t lived life, I am sorry), if you want to be a little more health conscious, it is not really something you would like to have everyday. Now you can have your pancakes whenever you want instead of reserving them for a “cheat meal” or “allowing” yourself an indulgent meal. Now on to what everyone is really waiting for! The reviews. 1. Peppermint Mocha  This is the mix I tried first, so as with any new product I am trying, I am a little cautious. I tried a little bit of the batter, because of taste testing purposes of course (okay, it also smelled amazing), but I could detect a little protein taste. However, I have found that usually protein mixes taste better cooked anyways, so I continued to cook the pancakes. On the back, it says 1/2 cup makes 3 pancakes, but I made mine much smaller and the mix was able to yield 7 impressive pancakes! Not to mention, these pancakes are super easy as well! stack'd pancakes 1 
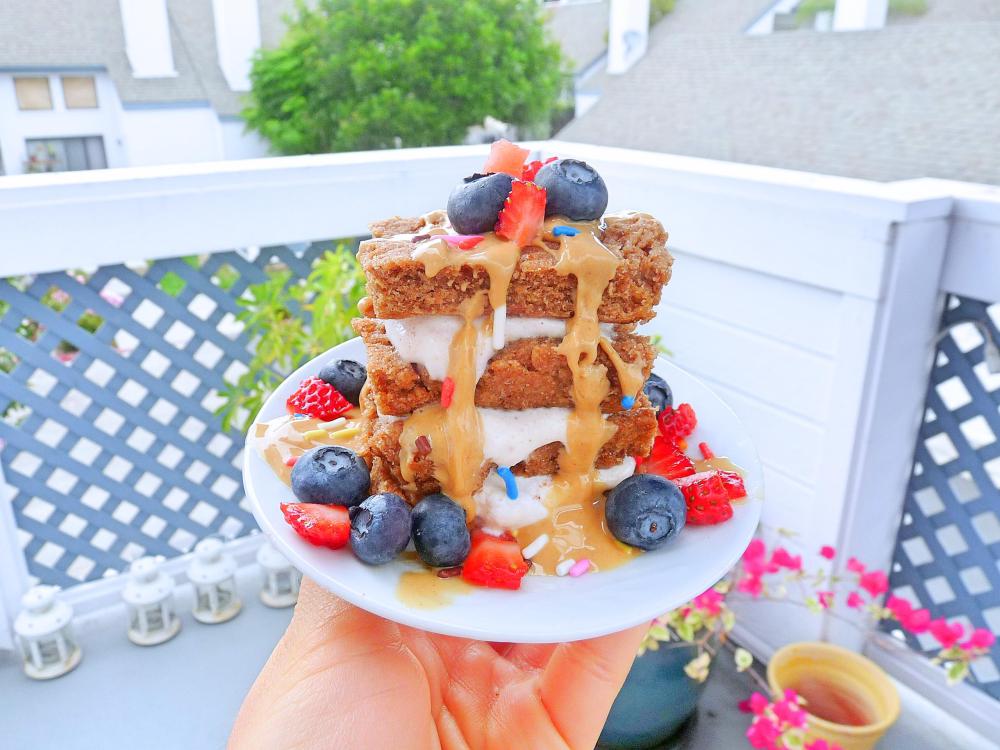
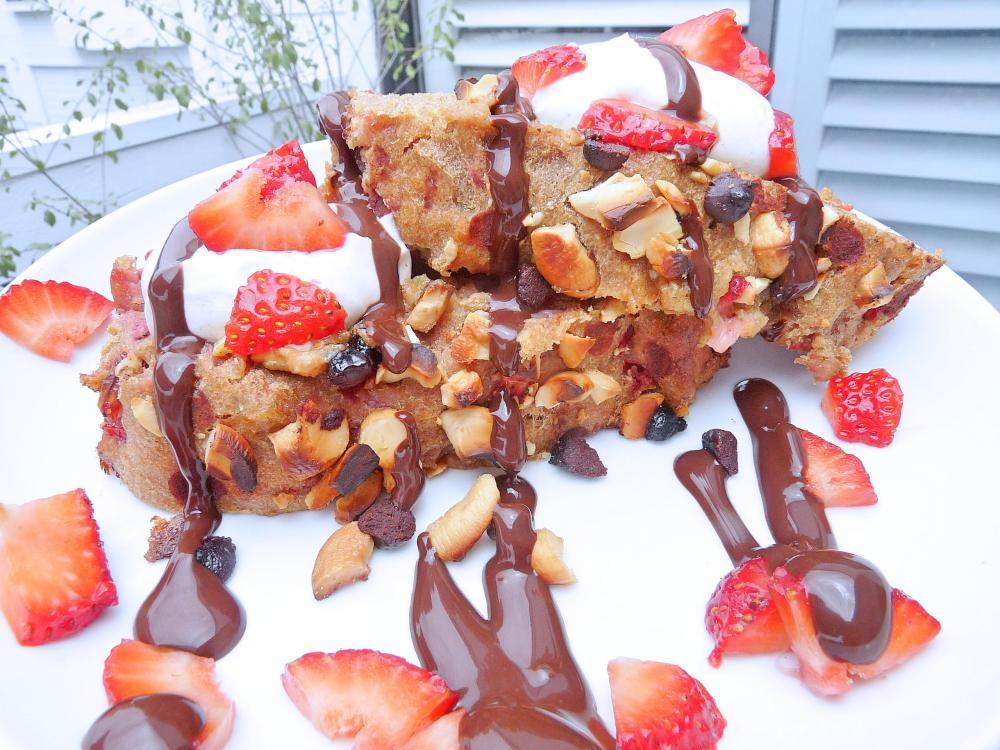
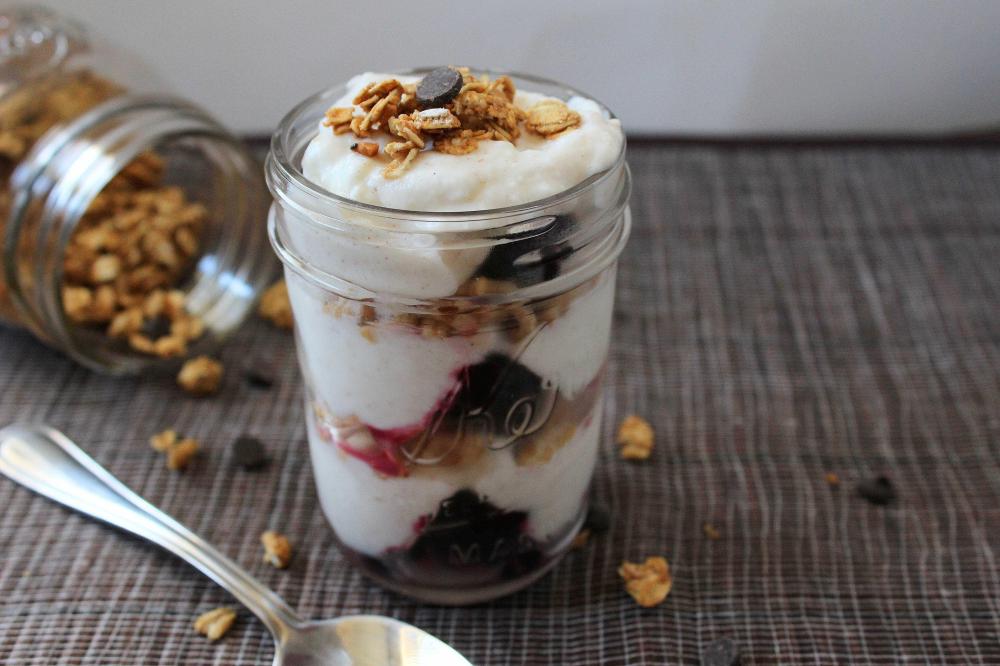
I topped stuffed it with chocolate Greek yogurt (Greek yogurt+1 tbs dark cocoa powder, chocolate stevia), and topped it off with frozen berries, MaraNatha sunflower seed butter, and chocolate sauce. peppermint mocha 2 The pancakes were a little flat, which is what I expected because I have yet to make super fluffy pancakes too, but that didn’t matter in the end because the taste was spot on. The peppermint flavor wasn’t too overpowering, which is what I am always wary about with peppermint or mint flavored products. It’s too easy for them to resemble toothpaste, but in this case, mixed with the chocolate flavor, was a perfect holiday breakfast. 2. Natural Lemon I came into this with high expectations after I had the Peppermint Mocha pancakes. I just couldn’t imagine the other flavors surpassing the taste test. I was utterly wrong. The lemon pancakes ended up unbelievably fluffy, and had a sweet lemon taste. I topped the stack with blueberries, Tahitian vanilla whipped cream, and Nuts n More Toffee Crunch peanut butter. lemon pancakes 1 I am still in awe of how fluffy these pancakes were. They were like pillows of sweet lemon. When I took a bite with the blueberries and whipped cream, I was transported back to when I was a kid eating lemon cream pie with my dad, which was one of my favorite pies as a kid. I even made an oatmeal recipe based on the pie. But the difference is that this one has 25 grams protein, 3 grams fat, and 233 calories for 7 small to medium-sized pancakes. I’ll take the pancakes. 3. Buttermilk After the lemon pancakes, I just couldn’t wait to dig into the buttermilk pancakes. I also noticed my expectations got even higher, so I was expecting major fluff factor, and top-notch flavor. If these didn’t resemble my childhood Bisquick pancakes, I would be severely disappointed. But the pancakes met my ridiculously high expectations, and might even surpassed the bar. buttermilk pancakes 1 These pancakes, just like the lemon pancakes, were super fluffy. The batter also didn’t taste as “protein-y” as the Peppermint Mocha ones, so I had a little more fun making these pancakes. I topped it with Just Great Stuff Chocolate Powdered Peanut Butter, Nuts n More Toffee Crunch Peanut Butter, chocolate chips, and speculaas spice (the real deal from Holland). Oh. My. Goodness. These tasted exactly like the pancakes I had when I was a kid. I was truly in shock at how good these tasted, but how good they are for you. It’s full of protein, hearty carbs, and a tad of maple sugar to give it that true pancake taste. I highly recommend Stack’d Pancakes, especially the Buttermilk and Natural Lemon flavors, for a healthy and hearty meal that tastes like a treat. The pancakes also fill you up to keep you fueled throughout your morning! Or lunch, or dinner if you fly that way. I am definitely tempted to have these for every meal of the day. Thank you so much to Stack’d Pancakes for allowing me the opportunity to try these revolutionary mixes, and I will definitely be buying more flavors. Check out their website here!

4 Ingredient Pumpkin Ravioli

I apologize for my long absence! Summer got crazy busy, and now I am in school. However, I still want to upkeep this blog to keep me inspired throughout the year, and to tidy up my writing skills a little. Also, it is kind of nice to have a hobby I can turn to right away!

Since summer is now over, and fall has made its appearance in towering cans of pumpkin in the grocery stores, I thought what better way to come back to this blog than a fall recipe? So here I give you the most simple pumpkin ravioli recipe you will find, but without sacrificing taste! I took some inspiration from several recipes I found online.

Makes: 2 servings

Ingredients:

-12 wanton wrappers (I used Dynasty)

-1/2 can pumpkin puree

-28g (about 1/2 a cup I believe) shredded cheese

-Salt and pepper to taste, along with any other additional spices you would like (I like to add smoked paprika!)

Directions:

1) Mix together everything in a small bowl, except the wrappers

2) Lay out your wanton wrappers on a surface

3) Place just about 1/2 tablespoon of filling in the middle of the wrappers

New Image

4) Dab water on one half edge of the wrappers, and carefully fold over the other half, and press down so it sticks. They should turn out like this:

New Image1

5) Boil them in a combination of chicken broth and water (or just water, but the chicken broth gives it a little taste)

6) Drain, OR you can also bake them afterwards at 350 for about 20 minutes, and broil for about 3 minutes for a toasted ravioli! (NOTE: depends on how strong your oven is. Mine is pretty strong)

Serve with your favorite pasta sauce!

New Image2

Peachy Pancakes

Summer is in the air, which means new variety of fruit to enjoy! My mom brought home huge peaches that were too juicy looking to resist.

Feeling inspired by summer, I made these pancakes that are easy to make with minimal ingredients.


Pancakes:

-1/2 cup rolled oats blended to make flour

-half a peach

-1/2 cup water or milk

-1/4 tsp baking powder

-cinnamon

-stevia or sweetener of choice


Creamy base:

-1/3 cup plain nonfat Greek yogurt

-cinnamon

-stevia

-1 tbs nut butter or peanut flour

New Image

Directions:

1) Blend your pancake ingredients in a blender

2) Spray a pan and set it on low heat

3) Cook the pancakes (careful not to overcrowd the pan or else they won’t cook!). Have patience!

4) Mix together your cream base and layer the pancakes with it

5) Top with more peaches and cinnamon!